Last Updated on May 26, 2021 by John Patterson
Anyone can use a drill. Wait a second. Can ‘Anyone’ use a drill?
Well here’s the thing-
Many can use corded drills. But when it comes to using cordless drills, many seem to lack knowledge. Even the internet statistics disagree with the first line from this article. Around 320 people every month search by writing down the line ‘How to use a cordless drill.’
But finding and understanding the right method might be troublesome.
No worries. We’re here to explain that topic exactly. We have divided the whole process into two parts for ease of understanding.
So, let’s drill right into the details of How to use a cordless drill-
Table of Contents
How to Use a Cordless Drill: Part 1 & 2
How to use a cordless drill: Part [1] Preparation Time
You cannot just go directly to the wall and start drilling. In real life, drilling works differently. You have to get prepared before barging into the walls with a drill at hand.
So, let’s get to the preparation part steps-
Step 1: Take Safety Measures
What would you do with drilled stuff when you get hurt in the process?
We believe it’s better to be safe rather than to be sorry. Now, what are the exact safety measures for a drilling job?
Here are a few do’s and don’ts-
- Don’t wear baggy clothing while drilling
- Don’t wear jewelry while drilling. You can easily find horrific stories of people getting hurt thanks to a necklace and a drill.
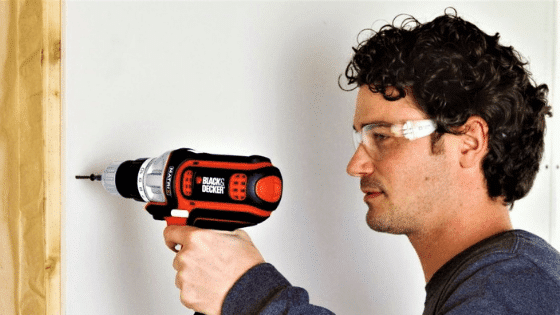
- Do wear safety goggles. You don’t want debris and powders in your eyes.
These are a must even if you’re drilling once in a while. But there are some other precautions that regular drillers must follow.
Firstly, use ear protection. Drilling makes a lot of noise. The noise is so loud that when someone drills on the first floor, your music gets ruined on the 6th floor.
However, cordless drills are a bit low on the nose. But still that a bit harmful for the regular users. So, if you want to hear things after a specific time, start using ear protection.
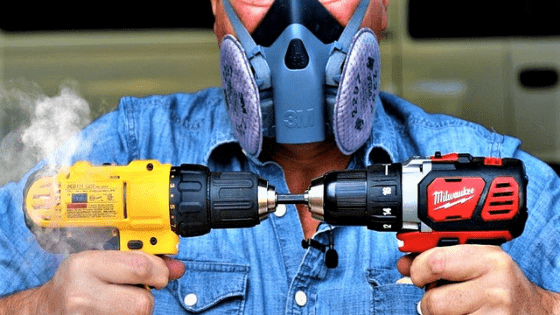
Secondly, start using a mask. If you’re a regular user and don’t use masks while drilling, then we have a question for you.
How do you stand all that dust on your mouth regularly? On another note, why do you want to destroy your lungs?
Think about these questions for a while. Now here’s our advice. Start using masks while drilling. Or else you’ll experience lung problems after a few years.
Step 2: Choose your Drill Bit
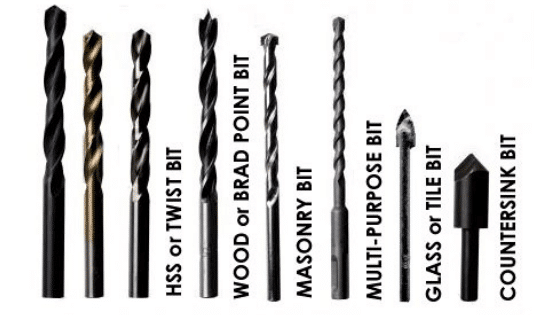
You should go through the instructions or the manufacturer’s manual before starting to drill. If you use the wrong drill bit while drilling, it may result in trouble.
For example, if you use the wood drilling bit for drilling steel, your drill bit might break. This will cause you unnecessary trouble.
Here’s our short guide to drill bit choosing-
- Use a general-purpose bit for drilling woods.
- Use a masonry bit for drilling stone, concrete, etc.
- Use a High-Speed Steel (HSS) bit for drilling most metals.
- Use Diamond or Carbide tipped drill bits for drilling super hard and brittle surfaces (glass, porcelain, or glazed tiles)
We also have a bit size hack for you. But here we’ll talk about choosing the bit size for screws.
The easy way is to hold the screw behind the bit. Check if the screw threads are visible or not. Also, see if the screw shaft is perfectly hidden behind the drill. If the threads are visible and the shaft is hidden, then you have the right-sized bit.
Step 3: Install the Bit
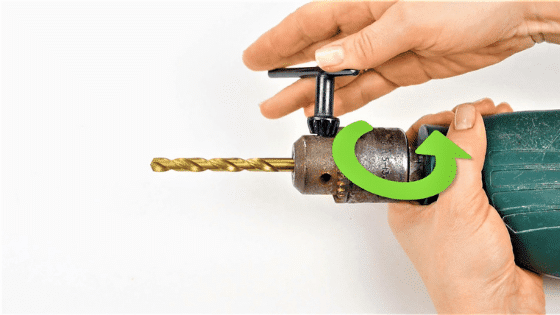
Do you know what the drill chuck is? It’s the clamp in the drill jaws. This chuck holds the bit in place while spinning.
For replacing or installing a bit, you have to at first loosen the chuck. You can do this with bare hands or with the help of a chuck key. But this depends upon your drill type and everything.
Insert your bit into the chuck. After doing this, tighten the drill chuck again.
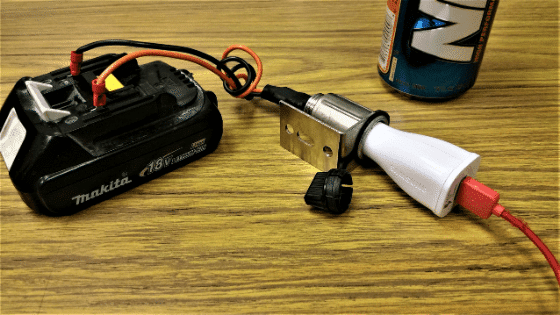
Step 4: Charge the Battery
Cordless drills have batteries on them. And at his point, the drill differs the most from the typical corded drills.
Some drills need the battery to be removed while charging. On the other hand, in some drills, you can charge the battery without removing it from the drill.
The full charge indicators might be different on different brands and different models. However, remove the drill battery from the charger once it’s fully charged.
Read also: step by step guide of making power tools charging station
How to use a cordless drill: Part [2] Drilling Time
The first part covers everything about drilling preparation. Once you’re done with that, it’s time for the real deal. Let’s take a look at how you’ll start drilling in a step by step process-
Step 1: Drill the Pilot Hole
This is a hack followed by many homeowners. If you’re unsure about your steadiness, then a pilot hole will save your day.
The trick here is to create a small hole that will help the significant drill bit stay stable.
To do this, at first take a smaller bit than the required hole size. With that drill bit, create a shallow hole.
However, in the case of ceramic and glass, you have to be extra careful. Make a mark with masking tape. And then place this drill over the mark. After placing the drill, tap it with a hammer. This will create a small dent. You can use this dent as a pilot hole.
Step 2: Keep the Pressure Steady
You cannot drill anything by simply holding the drill. You have to push the drill a bit. But while applying pressure, hold the drill steady.
If your drill is taking more than light pressure, then most probably you’re using the wrong bit.
In Conclusion
By now, we believe you know how to use a cordless drill. But still, you might have confusion. You can ask us anything if you have any difficulty. You can also watch some video instructions.
Good luck. Happy Drilling.
Related Reading:
#1. Dewalt Drill Reviews with Parts and Accessories
#2. Top-rated Ryobi Drills
#3. Top Cordless Drill Brands
#4. Winterizing a pressure washer: a step-by-step guide.

